How To Install Pavers
Installing a paver is a lot of hard work. It’s not as simple as laying down some bricks and calling it good. Pavers are an investment, so you’ll want to do everything you can to protect your investment and get the most out of it.
When installing pavers, there are a few essential things you need to put in mind. If possible, use pavers with rounded edges instead of sharp ones; this will help prevent injury if someone falls on them. Also, make sure the joints between each paver aren’t too wide or narrow; they should be about 1/4″ apart from each other for optimal support and stability.
We’ve listed our top 10 tips on how to install pavers below. We hope these tips help in your home improvement journey.
Gather Your Tools and Materials
Before you start installing pavers, you’ll need to make sure you have everything you need on hand. These include all of the tools and materials suggested in the pavers packaging. Before you go to that, you might also consider taking a break to learn how to organize tools you have at home. Well, the tools you need for your paver instalment include:
String lineGravelConcrete sandRubber malletPolymeric sandPlate compactorLevelShovelHand tamperJoint sandSealerClass ii road baseConcreteCircular sawPush broomConcrete blade
Prep Your Site
After gathering your tools and materials, you need to prep your site. Remove any weeds or grass in the area where you are going to install pavers. Then, smooth out the ground with a metal rake. Don’t use a wooden one because it will create splinters that end up hurting your feet when walking on them.
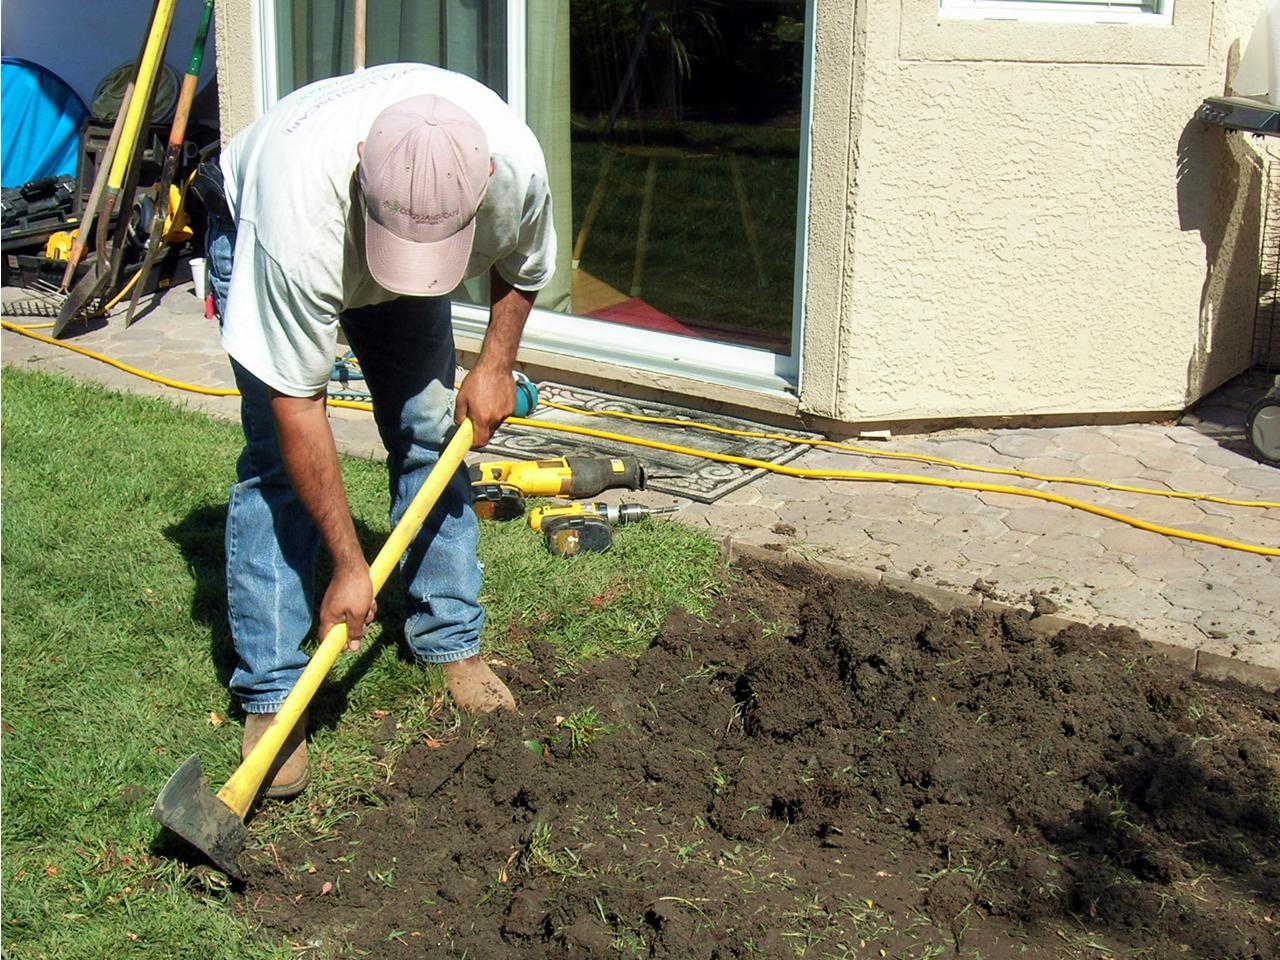
Image caption: https://diy.sndimg.com/
Before that, make sure you contact 811 or digline before digging to ensure you don’t hit any utility wires. Remove any grass or existing hardscape where you’ll be laying pavers. After removing grass, grade the area using level at a two percent slope to ensure proper drainage.
Make sure there’s a strong sub-base to make your paver installation long-lasting. Use a tamper or plate compactor to compact the sub-base to increase strength. You can also rent these machines from Home Depot or Lowes. Paving stones cannot lie on the dirt, so make sure you excavate.
You can also use geotextile fabric to ensure you don’t have any clay soil mixing with the sub-base. Sweep excess dirt off after grading and compacting, so you can put down pavers right away. Fill the excavated site using the correct amount of paver base material, then compact it using a vibrating plate compactor.
Place the Foundation
Once you’re done with prep work, lay down the foundation for laying pavers. Use string lines to make sure your stones are evenly separated. Pour your class II road base if you’re planning for a larger patio. Compact the road base with a plate compactor to make sure it’s solid and do not provide support to your pavers if installed in future.
After laying the road base, make sure it’s leveled with a straight 2×4 piece of lumber. It should be level across the width and length. Use a carpenter’s level to check this.
Pour the Bedding Sand and Screed
Use clean, sharp and deep concrete sand to fill up the spaces between your pavers. Bedding sand also acts as bedding for your pavers, so make sure it’s packed well with no voids at all. Place screed pipes across the patio every 2 feet to keep the sand level as you pour.
After that, spread a layer of your bedding sand across your screed pipe so that it’s completely filled. Use a straight 2×4 as a guide for this. This will help you avoid compaction before you place pavers. Position yourself between the pipes, then place the wood 2×4 perpendicular across the screed pipes. Make sure you sand the level more accurately by slowly pulling and sliding the wood 2×4 towards you. This process will leave you with a one-inch layer of sand.
Once you’re through with pouring bedding sand, remove the screeding pipes and fill the void with the sand. Make sure that the sand is even and flat across the area then, use a scraper to give it a smooth finish. Don’t worry about using too much pressure on the screeding pipes because you’re going to remove them anyway.
Lay Down Pavers
This is the main part of the job where you need to lay down pavers along your desired path. Make sure that the first paver is positioned adjacent to the end of the screeded edge. Place it onto a bed of sand, then use a rubber mallet to push it into place.
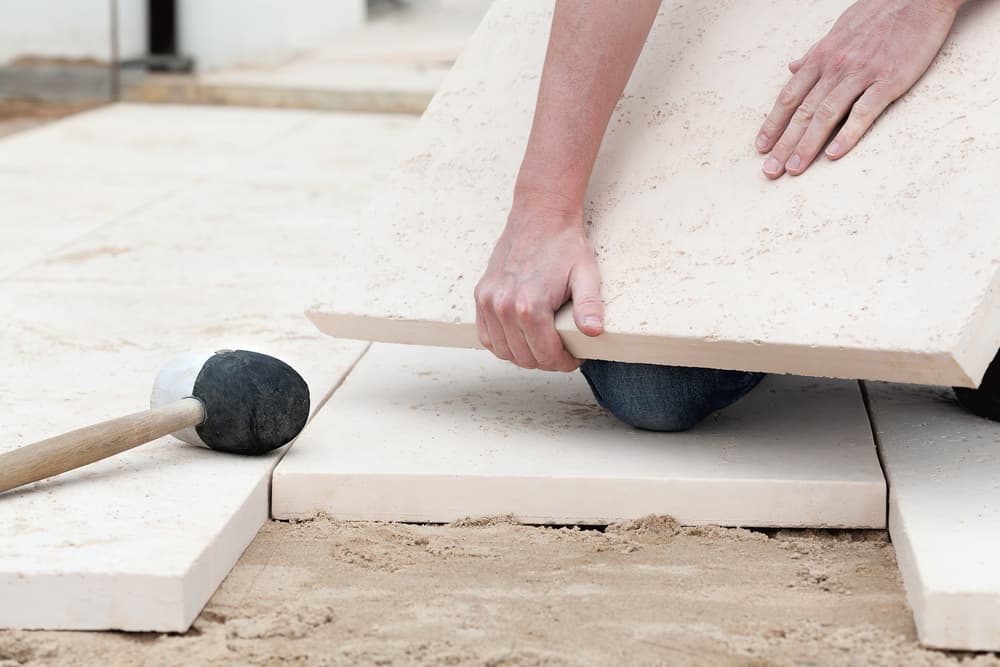
Image caption: https://premierpavers.com.au/
Before laying additional pavers, make sure that you spread another layer of sand using a metal rake. This will help you to level out your pavers and achieve a professional-looking path in the long run. There’s an endless number of paver patterns you can choose from depending on your paver materials. Make sure you lay the desired pattern out on the ground before you install the pavers onsite.
You may also trim your edge restraint or concrete border. Use a diamond masonry blade or saw to cut pavers along the top edge. If you have a circular paver, consider using a metal paver cutter for accurate cuts. Now that you’ve laid your pavers make sure to add sand in between each paver and level them out again before wetting the sand with water from a garden hose.
Cut Down the Border Stones
After establishing the paver pattern, you can now install the border stones that act as barriers between your path and lawn. The easiest way to cut down these stones is with a diamond blade-type masonry saw. You can also use a circular saw with a concrete blade.
Make sure you wear eye and ear protection as the latter is more hazardous. In cutting down these stones, use a marker or chalk to mark the area where you plan to make your cuts. Be careful when cutting border stones to avoid sharp angles and edges.
Install Edge Restraints
Stable edge restraint is necessary for laying paving stones. There are various types of edge restraints, but the most common is black plastic or steel. Once you have marked the border, snap it out like you would with a piece of chalk. It’s quite recommendable to use snap edge for better results.
If there’s no paver edging, you can install pre-manufactured steel or plastic side restraint. Another method is to use a strip of asphalt felt, cut to the width of the paver stones and place it under the stone. The edge restraint should be installed in such a way that it will be flush with the top surface of pavers once laid down.
Vibrate the Pavers
After the entire paver and borders are installed, run the plate compactor on the side of it and give it a few practice rounds. Vibrate over the entire area that is to be paved with pavers. You can rent a vibrating plate compactor from your local home center.
Drive over the entire area with a car to make good contact between pavers and gravel base layers. If you did not compact the paver beforehand, drive over it slowly after laying it down to compact it beneath your tires. It will settle little by little since there is no weight on it.
Sand the Pavers
Pour joint sand or polymeric sand over the paver, then use a leaf blower to sweep away excess joint sand so that it is even with the top of the stone. You can also use a vibrating plate compactor that you rented from the home center to sweep the sand into the joints.
After verifying that a pad can be used on your plate compactor, place the pad on the compactor and set it to medium weight. Do not use a high weight because you do not want to crack your paver. Sweep the sand into the joints with the plate compactor until they are even with the paver surface. Failing to use a pad can result in a significant amount of damage.
Maintain Your Paver Project
Once you’ve finished, maintaining your paver project should be much easier than getting it done in the first place. Keep all surfaces clean and dry with regular sweeping. Use a broom instead of a hose to keep water out of the joints.
Before you fill your new patio pavers with water or bring in outdoor furniture, waterproof it to keep the water out of your project. If you fail to do this step, you may find that all of your hard work has been for nothing.
Also, to ensure your patio pavers withstand the test of time, apply a paver sealer to the tops of each paver. Finally, ensure any furniture you place on your patio is level so you don’t damage your patio pavers. Make sure it’s completely dry before applying a sealer.
FAQs on How to Install Pavers
How to Install Concrete Pavers?
To install concrete pavers, all that is necessary is some basic information about the size and shape of your patio. Consider the pattern you want to the layout before tackling the installation process with this information in hand.
Can you lay pavers directly on dirt?
Yes, if the dirt is free of large rocks and vegetation. However, it is important to level out any low areas in the soil for a successful installation. It’s also advisable not to directly lay pavers over dirt. For pavers to look and perform well in your permanent patio, you need to excavate, level and hard compact the ground.
What do you put under pavers?
You can lay pavers directly over that is slightly raised as a result of tree root growth or simply on dirt if you have already excavated and leveled the area. In addition to these base materials, you must install a layer of sand between the soil and paver surface to ensure proper water drainage.
Final Thought on How to Install Pavers
As you can see, installing pavers is easy. However, the material is heavy and does take considerable time to remove or install. Just make sure that you are well aware of your ground conditions before you begin pavers installation in order to prevent serious injury.
The post How To Install Pavers appeared first on Kitchen Infinity.
Did you miss our previous article…
https://www.ilovethelovekitchen.com/?p=220