Can You Install Tile Directly on Concrete?
Tile is one of the most popular flooring materials in North America.
There are many different types of tile installation methods, but it’s important to know that you can install tile directly on concrete floors with some preparation steps.
In this article, we’re going to go over seven steps that will lead you towards a successful tile installation. Let’s get right into it.
Step 1 – Remove any existing finishes or coatings
The first step towards tile installation is to remove any existing finishes or coatings that may prevent adhesion.
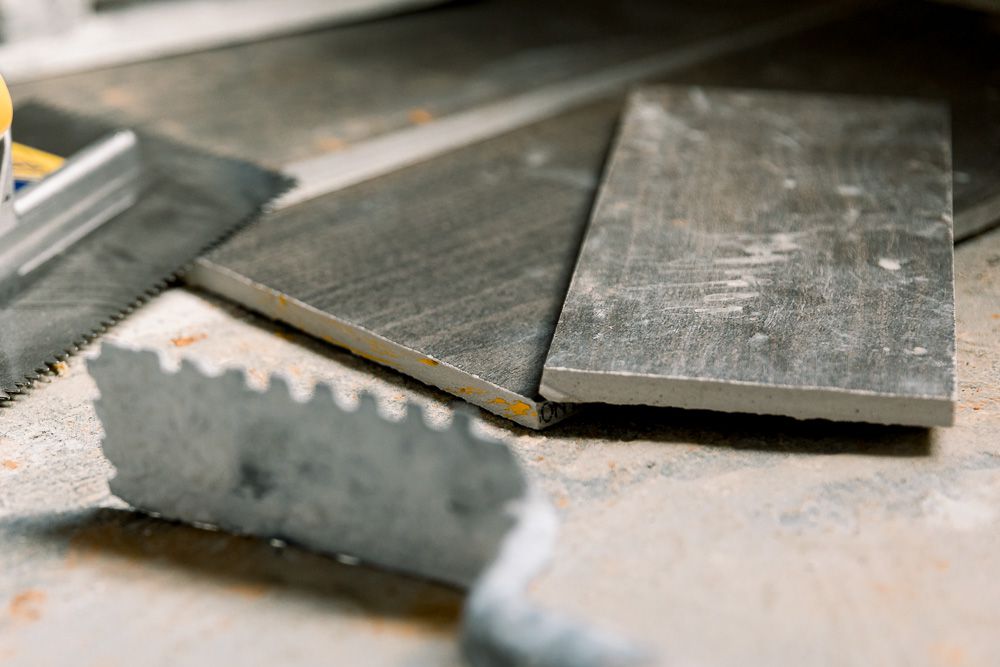
Image Credit: http://thespruce.com
This includes the removal of old, cracked thin-set mortar; which you can check by lightly tapping on your floor with a hammer.
If the surface sounds hollow, then it’s time for you to move on to step two.
You may be able to remove any coatings yourself using a paint scraper or clay removal tool – just make sure that these tools are new and sharp.
A floor scraper or smooth wire brush is also a safe option if you’re removing paint, which you’ll likely see if your former coating was glossy.
Whatever method you use to remove any existing coatings, just make sure that it’s thorough and complete.
If the surface of your concrete has any oil stains then consider using an alkaline cleaner before proceeding with step two.
Once these are removed, be sure to rinse well with water after cleaning to prevent any dirt from re-sticking to the surface.
Step 2 – Use a diamond grinder to create a roughened surface for thin-set adhesion
After removing any previous coatings, the next thing that you’ll want to do is use a diamond grinder to create a roughened surface for thin-set adhesion.
This step is important because it will allow your adhesive product to hold firmly onto the surface of your concrete.
You can rent a diamond grinder from your local home improvement store, but it’s important to note that you’ll need to wear safety glasses and a dust mask – just in case you come across any sharp edges that may have been missed.
Once the surface of your concrete is roughened, then you’re ready for step three.
Step 3 – Remove any residual debris using a vacuum or leaf blower
Once your floor has been prepared for tile installation by roughening the surface and removing all previous coatings and debris, it’s time to remove any residual debris using a vacuum or leaf blower.
Using a vacuum cleaner is recommended because it will reduce the likelihood of creating excess dust, which may become airborne and affect the quality of your work.
To prevent any residual debris from re-sticking to the surface, just make sure that you thoroughly clean and rinse with water after cleaning.
If rinsing isn’t possible then we recommend using compressed air instead of a leaf blower or vacuum to remove any dust or dirt.
Step 4 – Use thin-set mortar as an adhesive product and follow manufacturer instructions
When it comes time to choosing an adhesive product for tile installation, it’s important to note that many adhesives are manufactured for specific applications.
Because of this, we recommend following the manufacturer’s instructions for tile installation.
Most adhesive products contain similar ingredients, but it’s important to learn which ones may or may not be compatible with your specific product depending on the type of installation that you’re doing.
For example, some thin-set manufacturers recommend the use of latex additives for concrete floors if installing over radiant heating systems because it will prevent cracking.
Once everything is measured out and ready to go, then you can mix your adhesive product following manufacturer instructions. If this isn’t possible due to time restraints, then at least try to prepare it in advance so that nothing slows down your installation process.
Step 5 – Apply adhesive using a 1/4″ x 3/16″ V-notched trowel
After preparing your adhesive product, then it’s time to apply the thin-set mortar.
The best way to do this is by using a 1/4″ x 3/16″ V-notched trowel and following the “scratching” method.
Remember: when applying adhesive, it’s important to be mindful of your surface temperature because higher temperature substrates will require more heat for the adhesive to cure properly.
While this step is usually done with a special tool known as a notching trowel, you can also use an ordinary steel straight edge like that of a level if one is available on site.
Step 6 – Use hardboard panels and install them around the perimeter of the room
If you need to install hardboard panels around the perimeter of your room, then we recommend using a circular saw and cutting them to size.
Just make sure that you measure twice and cut once because it’s important to have everything fit properly for tiles to lay flat with no visible seams.
Once they are cut to size, simply screw them in place using screws designed for use with drywall – making sure that they don’t go all the way through the hardboard.
You’ll also want to use plastic panel anchors when securing these boards into place. Be very careful when doing this because both types of fasteners are sharp.
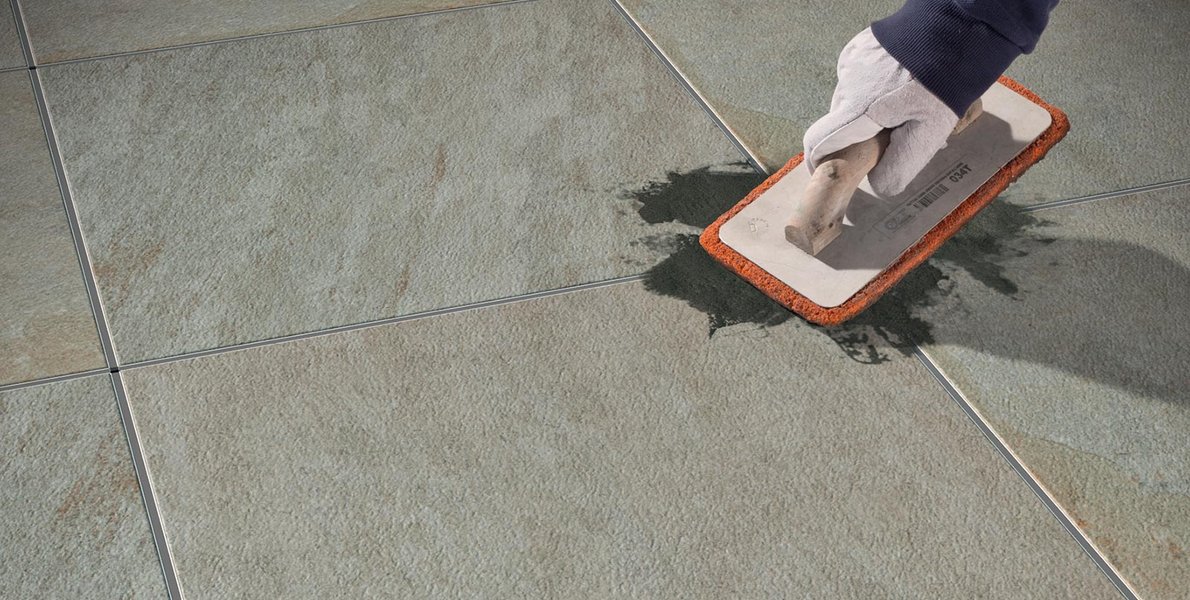
Image Credit: http://marazzigroup.com
Can You Install Tile Directly On Concrete – FAQ
Do I need to level my floor?
A level floor is always suggested. If you want to level a floor, you must use a leveling compound, trowel it out and let it dry. You can’t put tiles on top of a wet leveling compound. After the floor is level, you need to make sure all the dust has been cleaned up. Also, check out this guide on how to remove a tile in case something goes wrong in the process.
How do I install tile on a floor with no subfloor?
Installing tile without a subfloor isn’t too difficult. If seams are showing in the concrete, tape them off, then place construction adhesive or mortar across the entire floor area where you plan to lay tile. Go buy some thin-set mortar for about $5 per bag at your local hardware store. Mix according to package directions, being careful not to create too much at once because it begins setting quickly. Pour it on the floor and spread it out evenly to create a flat surface.
The key is to make sure the thin-set mortar spreads over the entire floor so there are no bumps. Also, be careful not to get any on your shoe, as you will carry it into your house and all over the carpet and furniture.
If this happens, simply scrape or wipe up with a damp towel or rag as soon as possible before too much of it dries. Once the thin-set mortar has been smoothed out evenly on top of the concrete, let it dry for about an hour before putting more on layers until you achieve smoothness (no lumps).
Final thoughts on installing tile directly on concrete
In conclusion, yes you can install tile directly on concrete. It is possible to do so without any underlayment if the substrate is flat and even; however, if the substrate has imperfections (i.e. it’s not perfectly level) an underlayment is required for the tile installation to be successful and long-lasting.
The post Can You Install Tile Directly on Concrete? appeared first on Kitchen Infinity.
Did you miss our previous article…
https://www.ilovethelovekitchen.com/?p=263